

How To Install Ubuntu On Raspberry Pi 2
Introduction
Raspberry Pi is designed to run on Raspbian, a Debian-based operating organization optimized for these devices.
Even though Raspbian comes with more than xxx,000 packages and covers well-nigh utilize-cases, power users may find the arrangement restrictive. When users desire more updates and a more familiar environment, Ubuntu can be installed.
As Raspberry hardware is a limiting factor in the choice of Ubuntu version, we recommend Ubuntu MATE optimized for the ARM architecture. The distribution of MATE adult for Raspberry Pi is lightweight and less demanding on resources.
In this guide, learn how to install Ubuntu MATE on Raspberry Pi by writing the image to an SD card.
Prerequisites
- A Raspberry Pi device (version 2 or three)
- An SD/MicroSD menu (8GB minimum, 32GB recommended)
- A computer with an SD/MicroSD card reader
- A tool for decompression for the version of Os on your calculator
Installing Ubuntu Mate on Raspberry Pi
To install Ubuntu MATE on Raspberry Pi, y'all need to download an prototype and write it to an SD card. This process is straightforward.
Once you prepare a bootable SD carte to install Ubuntu on Raspberry Pi, the rest of the installation volition be familiar. Follow the steps below to boot Raspberry Pi to the Ubuntu MATE desktop.
Notation: At the moment, you cannot install Ubuntu on Raspberry Pi 4. Only Raspberry Pi 2 and 3 are supported at the time of writing this article. Ubuntu MATE for Raspberry Pi 4 is yet to be released.
STEP 1: Download Ubuntu MATE for Raspberry Pi
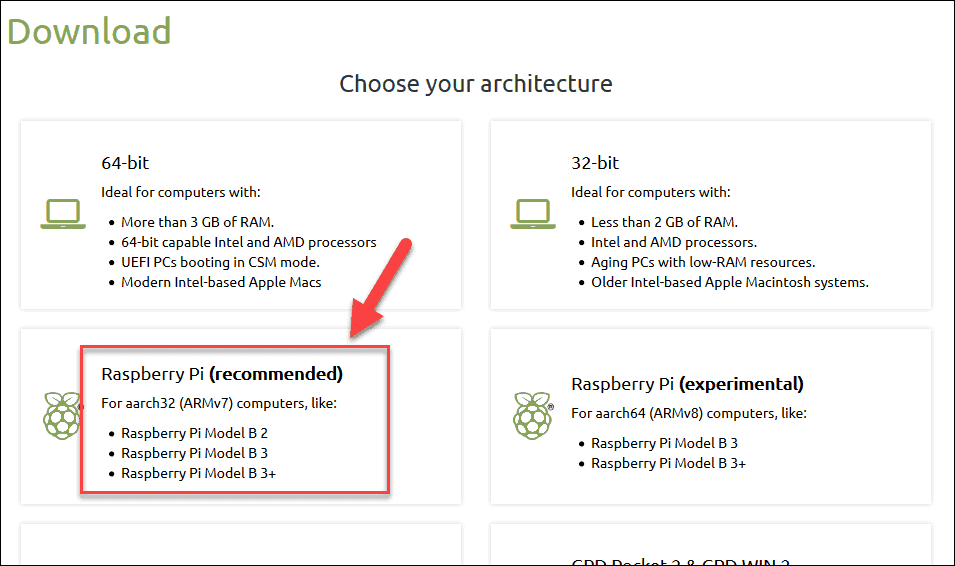
1. Navigate to the Ubuntu MATE download page and select Raspberry Pi (recommended).
2. On the next page, select eighteen.04.2 (Bionic). This is the only available selection at the fourth dimension of writing this commodity.
3. Choose how to download the MATE epitome. You lot can employ a torrent customer, but a directly download is besides available:
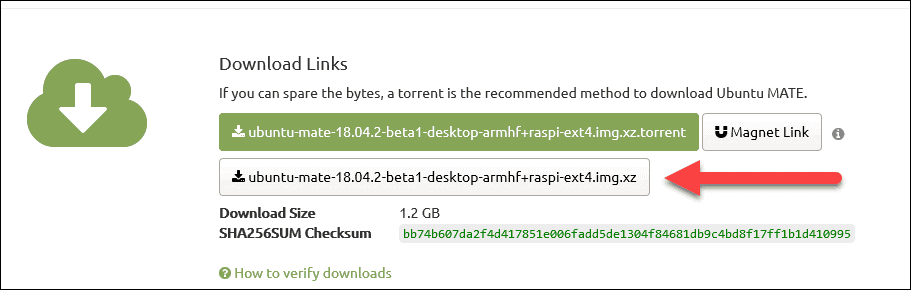
four. Save the .xz compressed image file to the desired location.
STEP ii: Fix Ubuntu MATE Prototype
The Raspberry Pi Ubuntu Mate image comes compressed. The extension of the file you downloaded is .xz. Use your favorite tool to extract the .img file.
To extract the file from a concluding, navigate to the location of the downloaded file and run this control:
xz -d ubuntu-mate-18.04.two-beta1-desktop-armhf+raspi-ext4.img.xz MacOS users can install The Unarchiver from the App Store and use that tool to extract the paradigm. Observe the file and double-click to extract information technology.
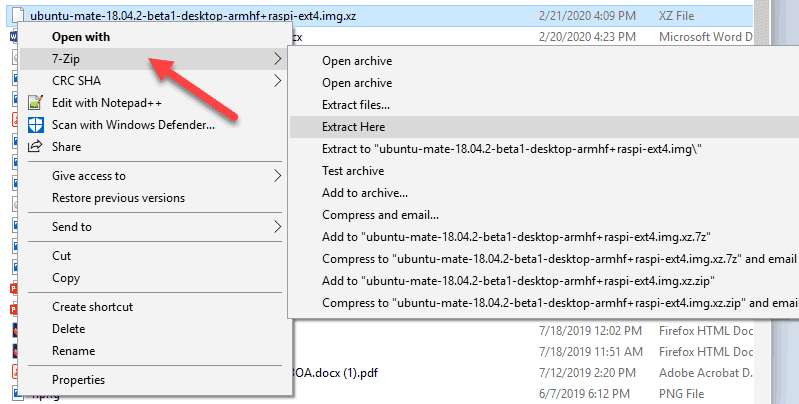
On a Windows machine, use the application of your selection. Nosotros recommend seven-Zippo. Locate the downloaded file, right-click it, and hover over 7-Zip . Choose where to extract the file. The simplest is to select Excerpt Hither .
Stride 3: Formatting the SD Card
Raspberry Pi uses the FAT32 format for SD cards. All Raspberry Pi models from 2022 onward apply a MicroSD carte du jour. You demand a card reader on your machine to consummate further steps.
Use a MicroSD to SD adapter if your reader just accepts full-size SD cards.
The avant-garde method requires you to format the card, while Etcher will practice that for you. To be on the safe side, format the menu in any case before standing.
Format SD Card on Windows
To format an SD card on a Windows motorcar, you can utilize Windows Explorer.
1. Insert your SD bill of fare and locate it in the Explorer.
2. Correct-click the disk volume for your menu and select Format…
3. Make sure the file organisation is ready to FAT32. Y'all can leave other options unchanged.
4. Select Start and confirm that you lot want to format the bulldoze. Of course, all data on the card will be deleted.
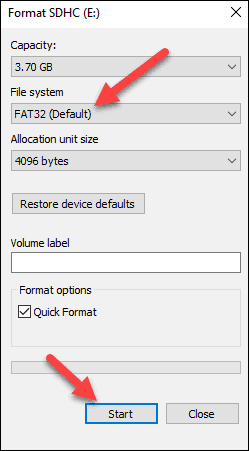
v. You will see the confirmation bulletin one time the formatting process completes. Click OK and then close the Format tool.
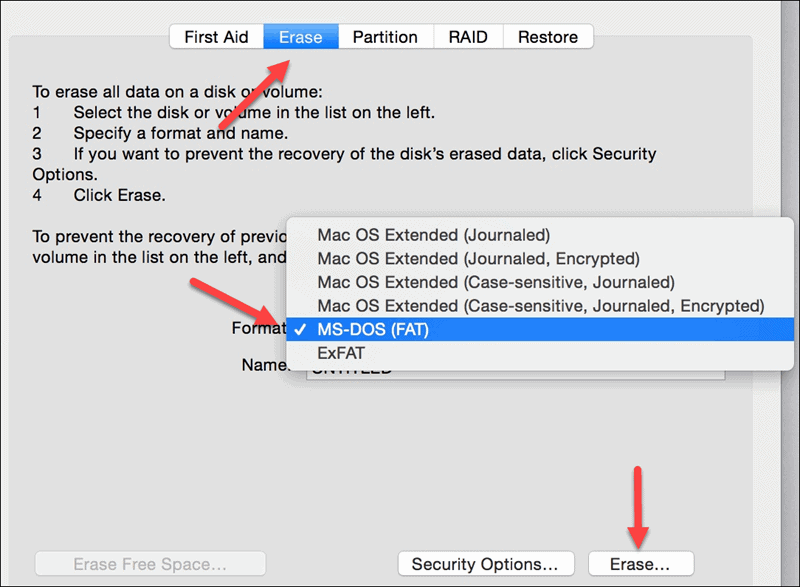
Format SD Card on MacOS
1. Use the Deejay Utility on macOS to format an SD card. When yous insert the card, open the utility, and locate the carte du jour on the list.
2. One time you select the bill of fare on the left, click the Erase tab.
3. Choose "MS-DOS (Fatty)" from the drop-down list. Click Erase… to format the card.
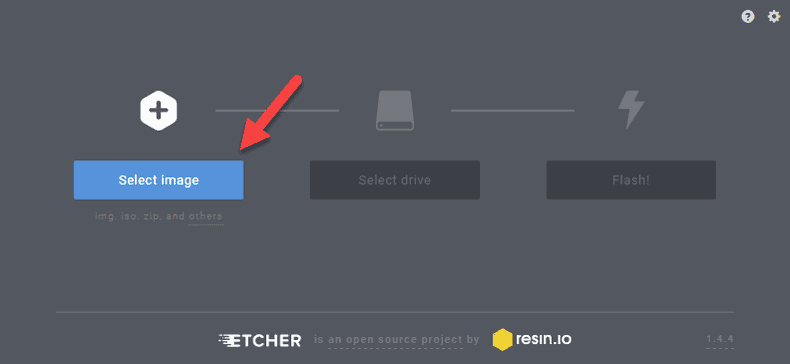
STEP iv: Write Paradigm to SD Menu with Etcher
The easiest method to write the Ubuntu MATE paradigm to an SD carte is by using the application Etcher. This tool allows y'all to write an image to your external drives easily.
Etcher is available for all operating systems: Windows, macOS, and Linux. Visit the Etcher download page and download the version for your machine. Install the tool and run it.
1. Showtime, select the Ubuntu MATE paradigm you downloaded earlier.
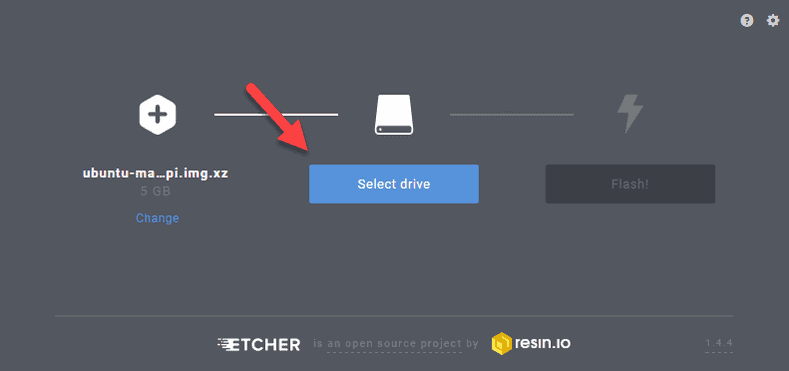
2. 2d, select a bulldoze. Click the bulldoze icon and select your SD card from the listing and click Proceed.
3. Finally, click Flash and permit the tool complete the process. This may have some time, depending on the speed of your SD bill of fare.
4. When Etcher finishes flashing the paradigm to your menu, yous will encounter the Flash Complete message. Close the app and eject the bill of fare from the estimator.
Note: Alternatively, if you are looking for a tutorial on installing Etcher on Ubuntu, visit our article How To Install Etcher On Ubuntu. The guide offers ii possibilities, via GUI and via last.
Advanced: Write Ubuntu MATE to SD Card Using Terminal
STEP 5: Launch Ubuntu MATE Installation
Insert the SD card in your Raspberry Pi before you turn it on. Connect all cables if you accept not already and let the device kick upwards.
The installation procedure is similar to whatsoever other Ubuntu installation. Continue by selecting the keyboard layout, location, network, username, and password.
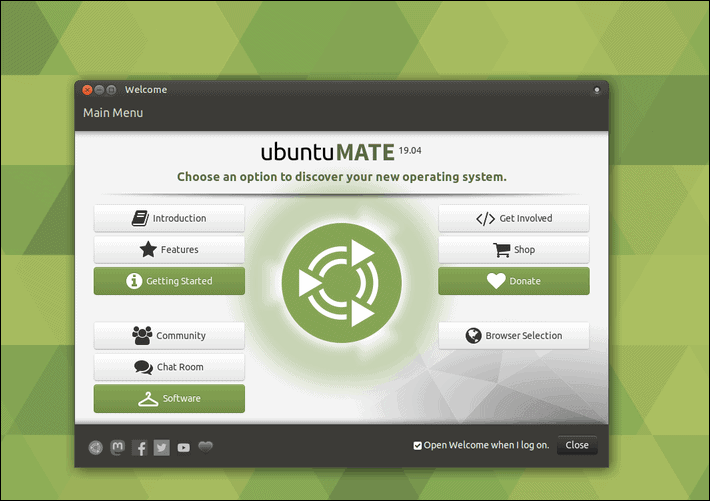
Let the installation complete, and you will shortly run into the Ubuntu Mate desktop.
Instead of using Etcher, y'all tin use the terminal to write the image to an SD card on Linux and macOS machines. Make certain to have the card formatted, as explained in the previous steps.
i. To write the Ubuntu MATE image, open up the terminal and navigate to its location. In our case, it is the Downloads directory:
cd Download ii. Use the dd command to write to the carte du jour. You demand the exact drive location and so yous can direct the tool where to write.
The full command with the current Ubuntu MATE image name and a drive location is:
sudo dd bs=1m if=ubuntu-mate-xviii.04.2-beta1-desktop-armhf+raspi-ext4.img of=/dev/rdisk1 conv=sync Brand certain you use the name of the image you downloaded and your drive path instead of our /dev/rdisk1.
iii. Eject the SD card from your estimator when the process completes.
Stride six: Update Ubuntu MATE
In one case the organization fully loads on your Raspberry Pi, you need to run the updater to make sure the software is updated.
To do so, open up the last and run the update and upgrade commands.
sudo apt update sudo apt upgrade If yous prefer using Ubuntu's Software Updater, yous can cheque for updates using its GUI.
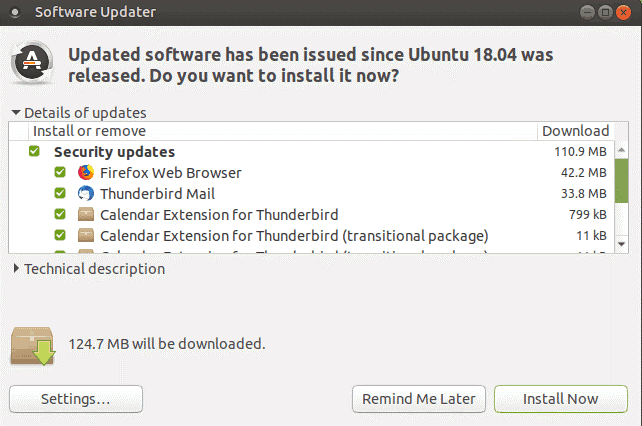
Select what you want to install and click Install Now.
Your Raspberry Pi with Ubuntu MATE is now set up for use.
Conclusion
This tutorial showed you how to install Ubuntu MATE on Raspberry Pi 2 and 3. If you followed the steps in this guide, you now know how to gear up an SD carte for writing an epitome file.
Y'all also learned how to use Etcher and the last to write Ubuntu MATE to an SD card. Every bit a reminder, Ubuntu on Raspberry Pi iv is not supported yet.
Was this commodity helpful?
Yes No

Source: https://phoenixnap.com/kb/install-ubuntu-raspberry-pi
Posted by: wilsoncamerwas.blogspot.com
0 Response to "How To Install Ubuntu On Raspberry Pi 2"
Post a Comment